Testing DroneBridge

Found a very cool article on hackaday about using wifi to transmit video data, however without the 802.11 protocol, instead using a own digital data link, so streaming data like on analog system, however still digital only without protocol overhead acknowledges and frames and so on.

The cool thing is this stuff is open source and there exists ready to use images for the raspberry (preferred version 3)

More detailed infos under:
http://wolfgangchristl.de/dronebridge/
https://github.com/seeul8er/DroneBridge

For the first setup you need:
2x raspberry, one with camera
2x usb wlan module with packet injection support

The problem is when you buy consumer wlan sticks you can not see what you get, even if buy the same product / wifi dongle like the TP-Link TL-WN722N the next one could have a different chipset already inside. The problem is that the chipset is very important, because it depends on it if the device supports monitor/ packet injection mode or not. At the moment only the Ralink RT3070 and Atheros AR9271 are quite good supported.

To be sure you get such chipset i would recommend you usb dongles from alfa, they are used by wardrivers and you can be sure that you get always the same chipset. With the TL-WN722N from the tp-link you would get most likely the AR9271, but you can never be sure.


AWUS036NHA with the AR9271 chipset
ALFA AWUS036NH with the Ralink RT3070 Chipset 

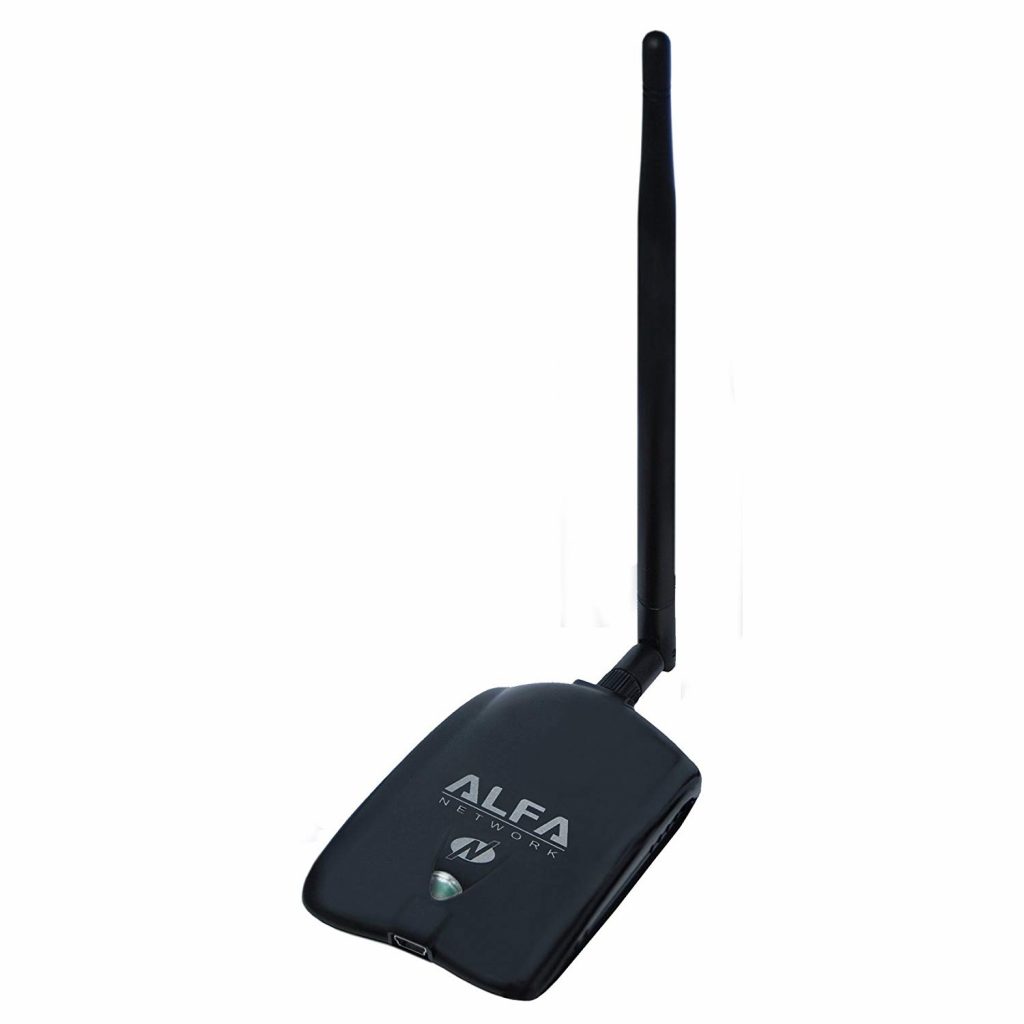
Be aware there exist also a old version of it (AWUS036H), without 802.11n support. It supports also monitor mode, but has a Realtek RTL8187 Chipset

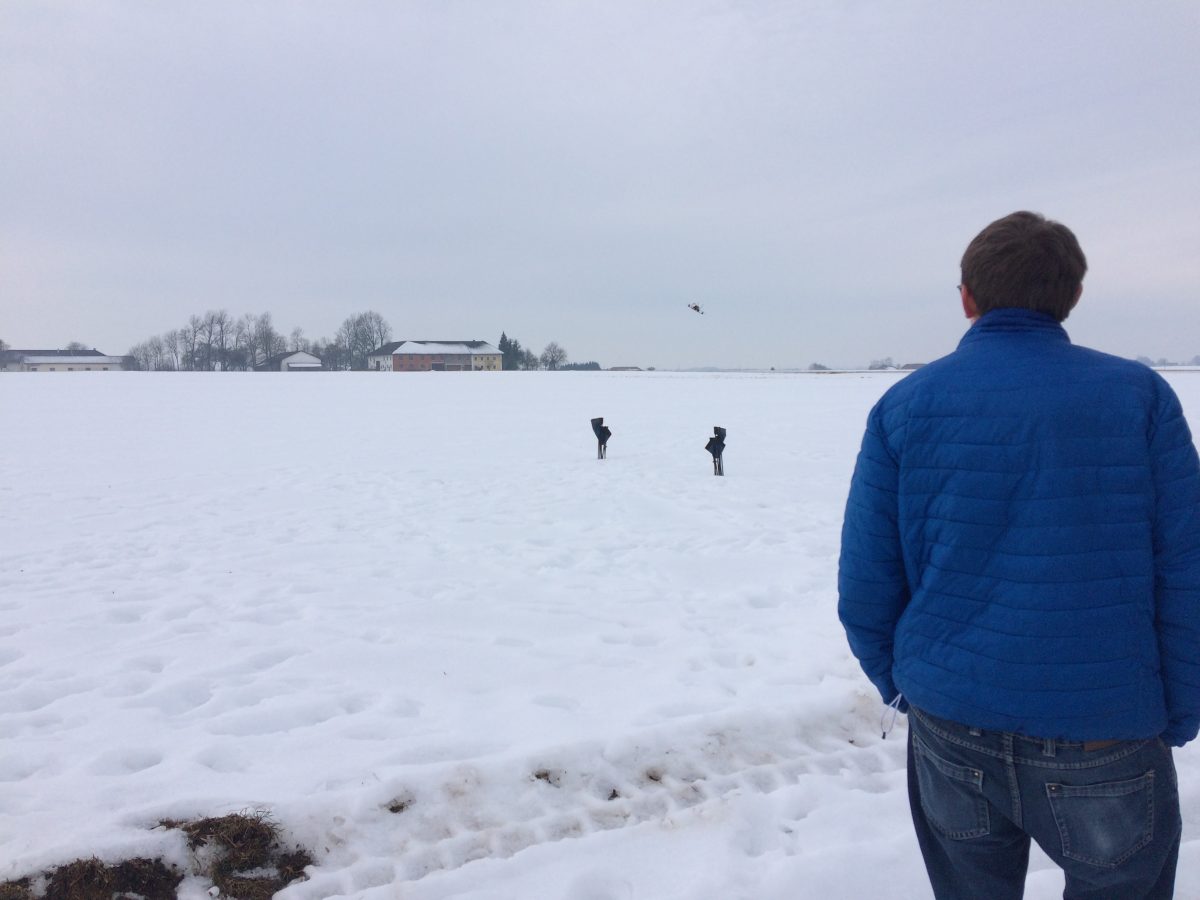
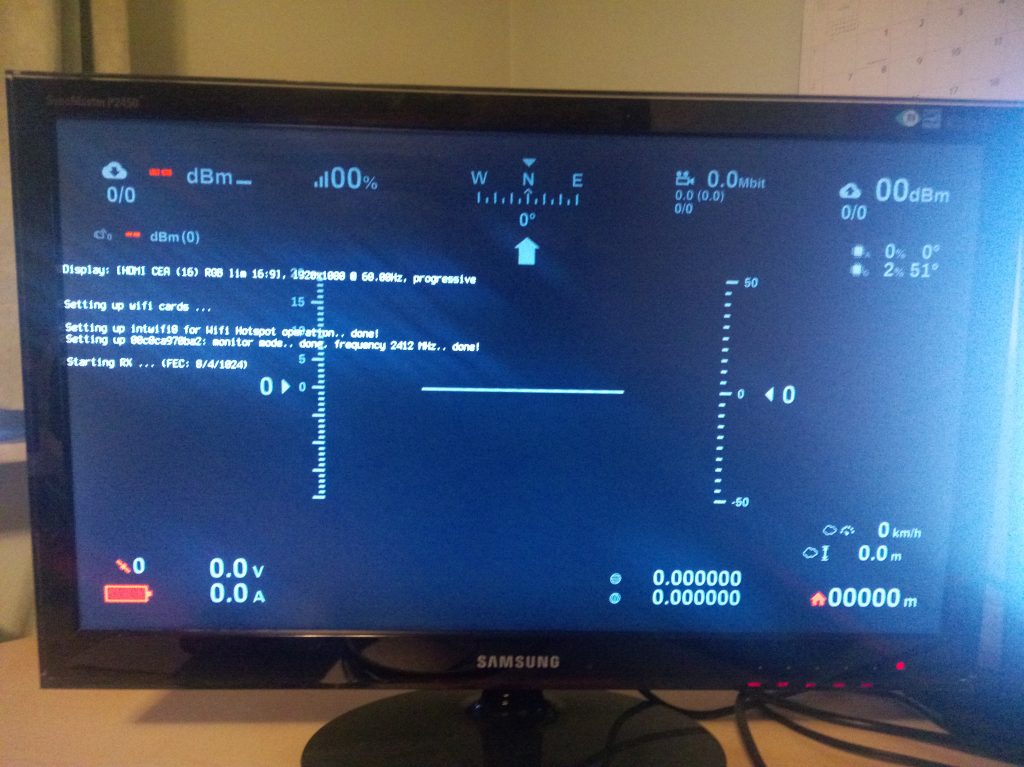
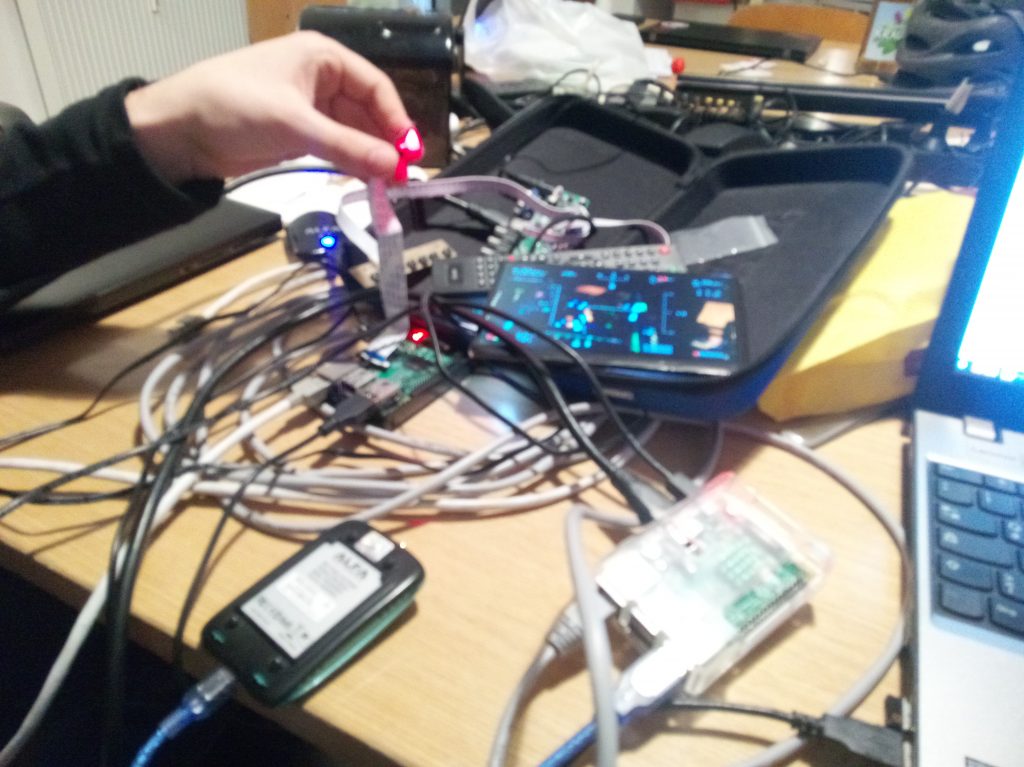
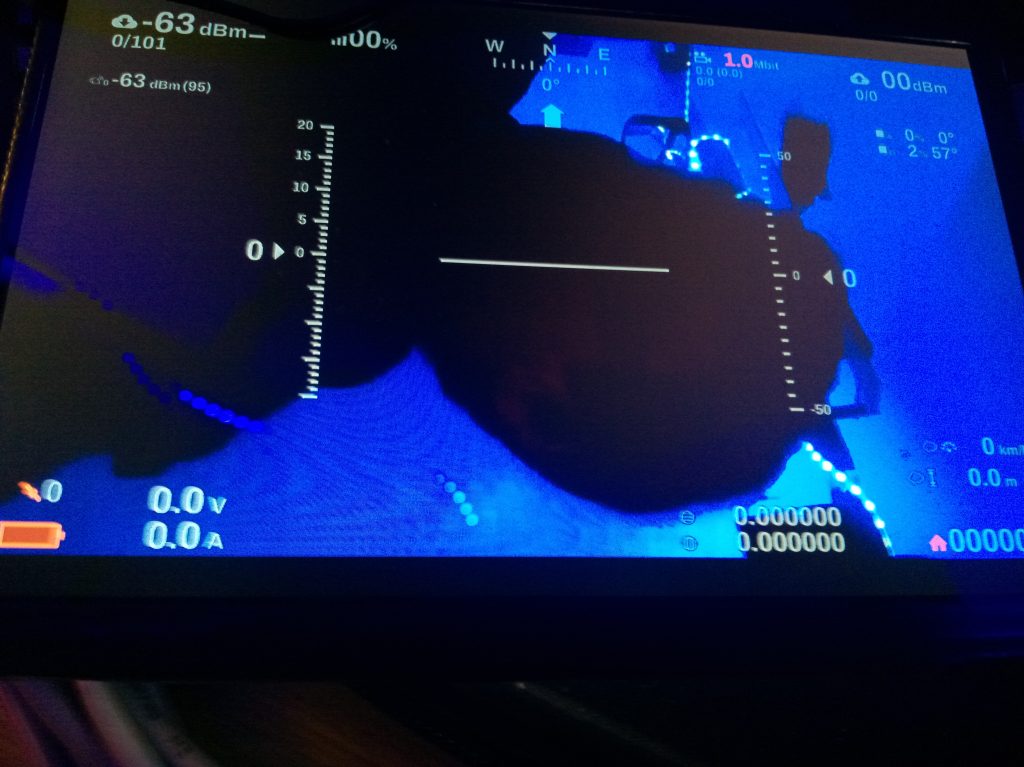
To get it runnig, connect the alfa via usb the raspberry, flash the dronebridge image and powert it. The rasperry with camera gets automatically in transmittingmode and the pi without cam in receive mode. Connect a display to the hdmi port (to the pi without cam) and you should already see the camera stream.

If you don’t get a anything maybe you have to disassemble the antenna on the receiver side, because of our test setup where transmitter and receive where very close together <1-5m we had most likely the overdrive effect.

DroneBridge on raspberry without Camera waiting for incomming data
Picture of our first little chaotic testsetup
First received stream after disconnecting rx antenna (necessary in near range cause of overdrive)

So the next step will be a real test of the range in the wild field, hopefully winter is over soon…

bheli32 under linux

bheli works great with the chrome app under linux,

so i buyed some bheli32, everything goes now to 32bit, why not, chips with 32bit does not cost really more nowadays.

Okay lets got the download site and get the latest suite…

oh wait, shit bheli32 is not open source anymore and it comes worse, only a windows tool for configuration -> holy shit

But not with us, lets install wine if you dont have it already (i used a old ubuntu version 16.04lts for it, but it should also work similar for other distros)

sudo apt-get install wine

verify we are allowed to access serial and are in the group dialout

groups

xeniter adm dialout cdrom sudo dip plugdev lpadmin sambashare libvirtd

okay if not add the current user to dialout:

sudo adduser <your_username> dialout

then connect your quadcopter with betaflight >= 3.2 to your pc and see what serial it get mapped, enter dmesg to see latest kernel messages from the system

dmesg

[ 1323.376331] usb 2-1.4.2: new full-speed USB device number 9 using ehci-pci
[ 1323.470627] usb 2-1.4.2: New USB device found, idVendor=0483, idProduct=5740
[ 1323.470633] usb 2-1.4.2: New USB device strings: Mfr=1, Product=2, SerialNumber=3
[ 1323.470637] usb 2-1.4.2: Product: DysF4Pro
[ 1323.470640] usb 2-1.4.2: Manufacturer: Betaflight
[ 1323.470643] usb 2-1.4.2: SerialNumber: 0x8000000
[ 1323.471149] cdc_acm 2-1.4.2:1.0: ttyACM1: USB ACM device

in this case we got “/dev/ACM1” lets map this to the virtual windows COM port1:

ln -s /dev/ttyACM1 ~/.wine/dosdevices/com1

Finally start with wine the windows executeable:

xeniter@ubuntu-werkstatt:~/Downloads/BLHeliSuite32_32500$ wine BLHeliSuite32.exe

After the gui opens click on connect and have fun setup your esc under linux (:


Repairing Omnibus F4 Pro without schematics

During last flight session a friend “landed” in the field, after next power cycle the camera video signal was only a black box. As first test we shortcircuit the VideoIN (from the camera) and the VideoOut(to the vtx) and we got a camera signal. Looks like the OSD got somehow broken.

So lets start repairing and look for the download of the F4 pro schematic. And then you realize: Shit! There is no schematic like for the good old cc3d.

Omnibus F4 Setups problems (because of having no information/ schematic)

That remembers me on a setup problem of a friend. He setuped the omnibus serials like this:

uart6- bidir fport (fport is special communiation protocol for frsky receivers created by collaboration between betaflight & frsky)
uart1 -gps modul
uart3 – tramp irc

Everything was setuped properly and worked except the frsky receiver.
Luckily we found this post in the inav project.

The problem here was that uart1 has inverters on uart1 tx/rx (Be aware on old omnibus versions this could be uart1). If you would have a schematic you could easily find that out [If you have it please mail it to me (: ]

But why causes the inverters troubles? Because fport requires bidirectional communication and the inverter works only one way. You can only disable inverter which is required if you use fport on a f4 flight controller (only stm32f3 flight controller can invert in hardware)

There are at least site with good pinout description:

https://www.unmannedtechshop.co.uk/omnibus-f4-pro-flight-controller-v3/

You have to look carefully, normally you find the pin-out for the normal omnibus F4 or a older revision.

Back to main topic:  OSD is not working anymore

First we took a closer look to the OSD ic, its a MAX7456.

Lets get the datasheet and the pinout:

Okay lets measure the power supply of it on pin 3: –> only 2.2V we found the problem. But what is the cause of that? Without schematics we are lost.

However we got luck! Someone had already similar problems and started with reversing and analyzing the Omnibus F4 board!

http://davidhkblog1.blogspot.com/2017/06/fixing-omnibus-f4-pro-over-heat-and.html

The problem is that the LDO U6 providing the 3.3V got somehow shorted. Lets measure again the voltage at the output of the LDO, still 2.2V

Lets took a look in the electronic box. Yeah – found a LDO MCP1824T-3302 LDO, lets check if pinout is ok:

Strike! i got the SOT-23-5 package and the pinout fits, so soldering old out new in and voilà we have a working OSD again!!

Thanks to the community for reversing and helping us, specially to davidhk blog! And to all sellers and producers of the great omnibus flight controllers: SHAME ON YOU! for holding us useful informations like the schematics back.


flashing achilles on achine PRO58 under linux

i buyed recently (from banggood) = the pro58 receiver with at stm32f1 from eachine (my old rx508 receiver didn’t work well anymore)

Because i had already the alternative firmware achilles on it, i would like to have it on the new one too. The cool thing about the eachine except the cheap price is the stm32f1 processor.

To flash it you need an stm32 programmer which can buy also from banggood for some dollars.

how to wire st link programmer and flash it under windows is already perfect described under: https://achillesfpv.eu/2017/10/30/howtoeachine/

to flash under linux you need st-link:

git clone https://github.com/texane/stlink
cd stlink
make

lets test if you have a connection

 xeniter@ubuntu-werkstatt:~/stlink$ ./build/Release/st-info --probe
 Found 1 stlink programmers
 serial: 30306d063058303030570443
 openocd: "\x30\x30\x6d\x06\x30\x58\x30\x30\x30\x57\x04\x43"
 flash: 65536 (pagesize: 1024)
 sram: 20480
 chipid: 0x0410
 descr: F1 Medium-density device

backup orginal firmware to be on the safe side (i read only 64k but should be enough, chip is 128k but the additional space is empty):

 ./build/Release/st-flash read emachine_orginal_fw.bin  0x8000000 65536

c28b6f516fcf03585972c929d77fa1e4  emachine_orginal_fw.bin
 xeniter@ubuntu-werkstatt:~/stlink$

flash new firmware
you have to set flash size to 128k, otherwise it won’t let you flash because it believes you have a 64k version

 ./build/Release/st-flash --flash=128k --reset --format ihex write ~/Downloads/Achilleas_V_1_8_EACHINE_1232.hex

go back to old fw
here is my backup in case you need it: emachine_orginal_fw

 xeniter@ubuntu-werkstatt:~/stlink$ ./build/Release/st-flash write ./emachine_orginal_fw.bin 0x8000000
 st-flash 1.4.0-39-g6db0fc2
 2018-06-08T00:37:25 INFO common.c: Loading device parameters....
 2018-06-08T00:37:25 INFO common.c: Device connected is: F1 Medium-density device, id 0x20036410
 2018-06-08T00:37:25 INFO common.c: SRAM size: 0x5000 bytes (20 KiB), Flash: 0x10000 bytes (64 KiB) in pages of 1024 bytes
 2018-06-08T00:37:25 INFO common.c: Ignoring 10232 bytes of 0xff at end of file
 2018-06-08T00:37:25 INFO common.c: Attempting to write 55304 (0xd808) bytes to stm32 address: 134217728 (0x8000000)
 Flash page at addr: 0x0800d800 erased
 2018-06-08T00:37:27 INFO common.c: Finished erasing 55 pages of 1024 (0x400) bytes
 2018-06-08T00:37:27 INFO common.c: Starting Flash write for VL/F0/F3/F1_XL core id
 2018-06-08T00:37:27 INFO flash_loader.c: Successfully loaded flash loader in sram
 55/55 pages written
 2018-06-08T00:37:30 INFO common.c: Starting verification of write complete
 2018-06-08T00:37:31 INFO common.c: Flash written and verified! jolly good!
 xeniter@ubuntu-werkstatt:~/stlink$

After you flashed it you get the licence key, enter it on the achilles website and buy it

now you have to wait your serial get activated like i do also now…

stay tuned…

Visiting Drone Hangar in Linz

We visited today the drone hangar hall in linz from the FPV RACING CLUB OÖ. The location was very unclear, they didn’t post it on their side, but after some google research we found out the drone hangar location is at “Holzstrasse 3, 4020 Linz

After some troubles in the beginning with signal interfernence (only 4 racers with 25mW on different channels were allowed) we managed to learn the route and started racing (:

Of course our plan is to visit the hangar again to beat the best lap time (=
replika rolex

Flashing your 24A racing kiss with dshot firmware (without kiss flight controller under linux)

First, make sure you have already version 1.02 on your kiss, otherwise look previous post how to flash it.

More details to dshot you can get here. Download the ESC Flash Loader and the newest Dshot 1.08 Fimware from there.

Unzip both files, import flash loader extension into chrome/chromium and start it:

Before you can flash it, you have to power the kiss and connect it to the PC via a Usb Serial, where the tx output is connected to the PWM input pin of the KISS.

If your KISS is powered and correctly connected click on okay to continue (be aware the flash loader writes data to serial nevertheless the kiss is connected and powered or not)

Choose the right serial, check USB-UART option, and choose the Firmware which you downloaded and unpack before, then click write flash.


Make sure that the Serial Tx led and the KISS LED is blinking in tact, after some minutes it should be done:


Now you can connect your 24A racing kiss esc to your betaflight controller back, select dshot and try if motor spins.

Congratz, thanks to dshot you must never calibrate you esc again (;