Next step is to get the software on the arduino. Get the latest source:
git clone https://github.com/voroshkov/Chorus-RF-Laptimer.git
So i started my Arduino IDE (i used version 1.8.5), open the Ino file in the Chorus-RF-Laptimer folder and click on compile and following error appeared ):
/tmp/arduino_build_387930/sketch/mainDetectionAlgorithm.h: In function ‘void runExperimentalLapDetectionAlgorithm()’:
/tmp/arduino_build_387930/sketch/mainDetectionAlgorithm.h:53:41: error: ‘getDeepFilteredRSSI’ was not declared in this scope
rssi2 = getDeepFilteredRSSI();
Took a short look into the source, but didn’t find the getDeepFilteredRSSI, maybe it was forgotten to check in. So i rolled backed to latest stable version:replica uhren
cd Chorus-RF-Laptime
git checkout -b 0.7.9
And finally it build through (: with git tag you can see all other tagged versions that exists
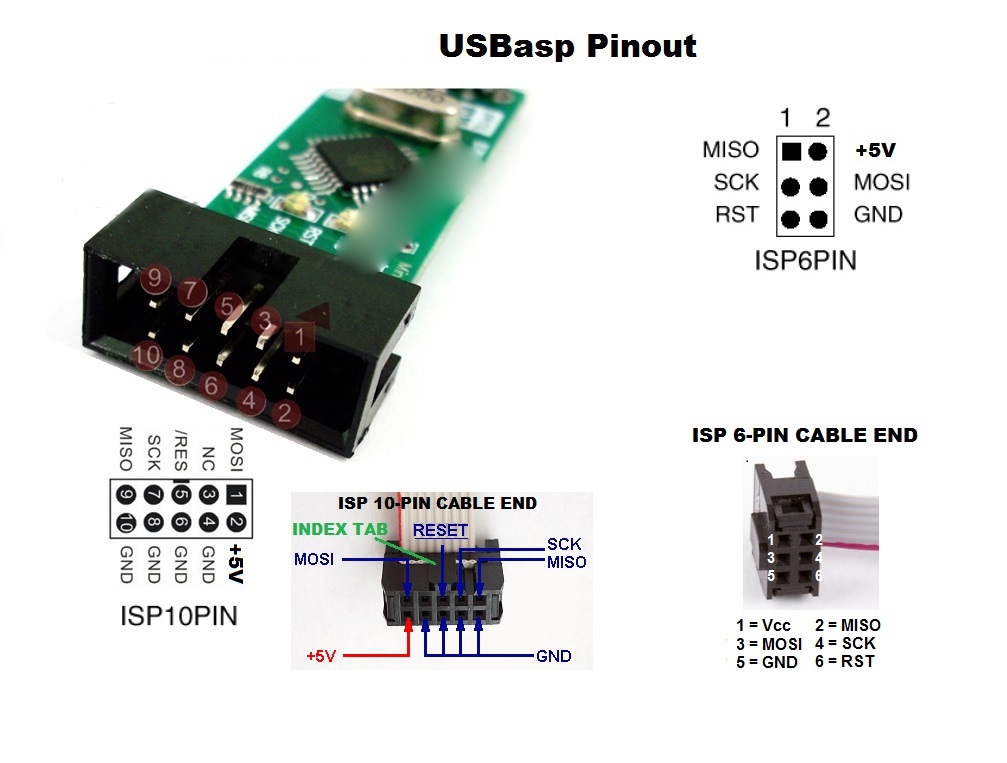
For programming Arduino’s i purchased a USBASP programmer. They are quite cheap and available for some dollars from china (e.g. banggood)
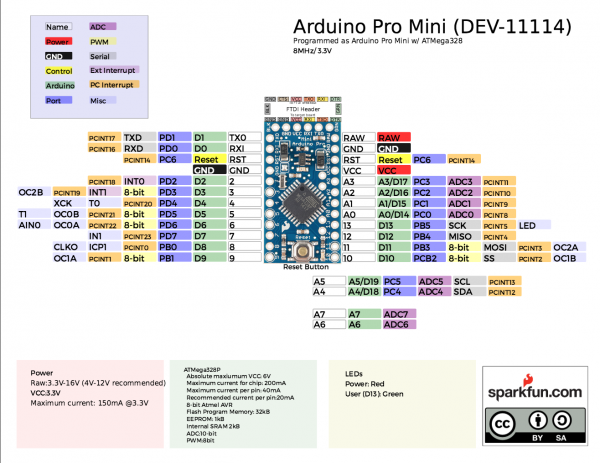
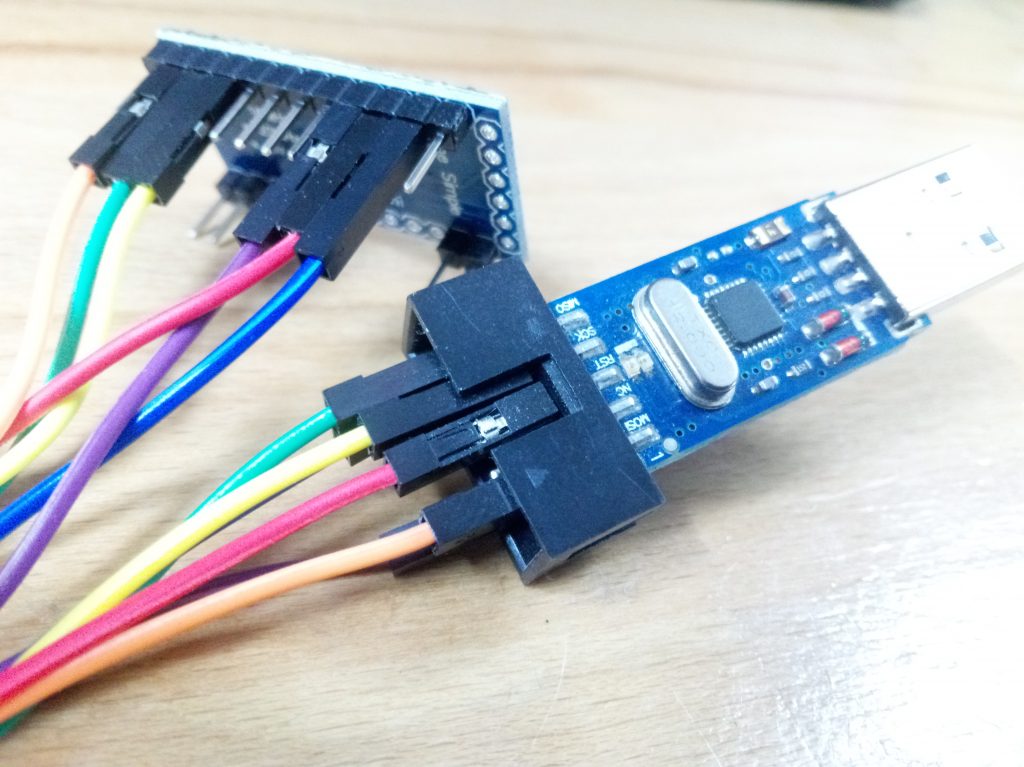
You have to connect folling PINs:
MISO<->MISO
SCK<->SCK
MOSI<->MOSI
RST<->RST
VCC<->5V
GND<->GND
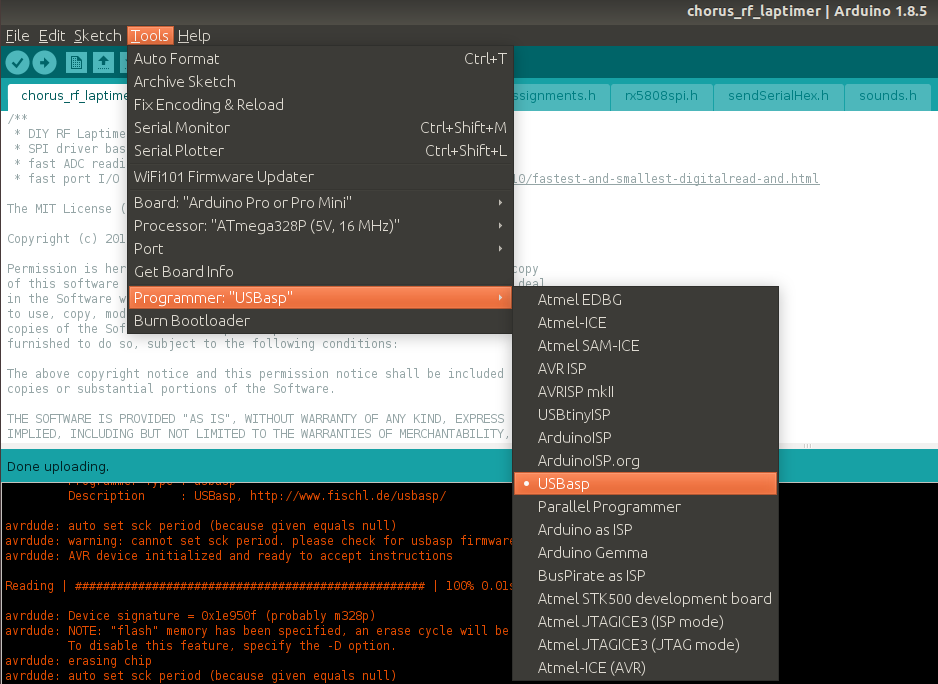
Connect programmer to your PC, select right Arduino in the IDE -> “Arduino Pro or ProMini with Processor ATmega328P (5V, 16Mhz)” and also the right Programmer “USBasp”. Finally program it via Sketch -> Upload using Programmer.
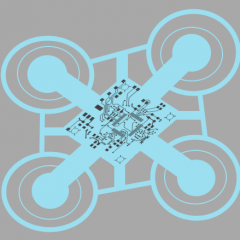
Now repeat this for the other three and done (=